


A wooden gate is not just a functional element in your yard; it’s a part of your home’s first impression. Whether you’re trying to enhance privacy, create a grand entrance, or add charm to your home’s landscape, building your own wooden gate for your fence can be a fulfilling DIY project. With the right materials, tools, and patience, you’ll have a durable, custom gate that’s both stylish and practical. Let’s dive into the step-by-step process of building a wooden gate for your fence.
How To Make A Wooden Gate Video Tutorial
Materials You’ll Need:
- Wooden boards (cedar or redwood for durability)
- 2×4 boards for the frame
- Hinges (heavy-duty ones for durability)
- Screws (weather-resistant)
- Latch
- Gravel or cement (for the posts)
- Level
- Measuring tape
- Power drill
- Circular saw
- Carpenter’s square
- Sandpaper or wood planer
- Stain or sealant for finishing (optional)
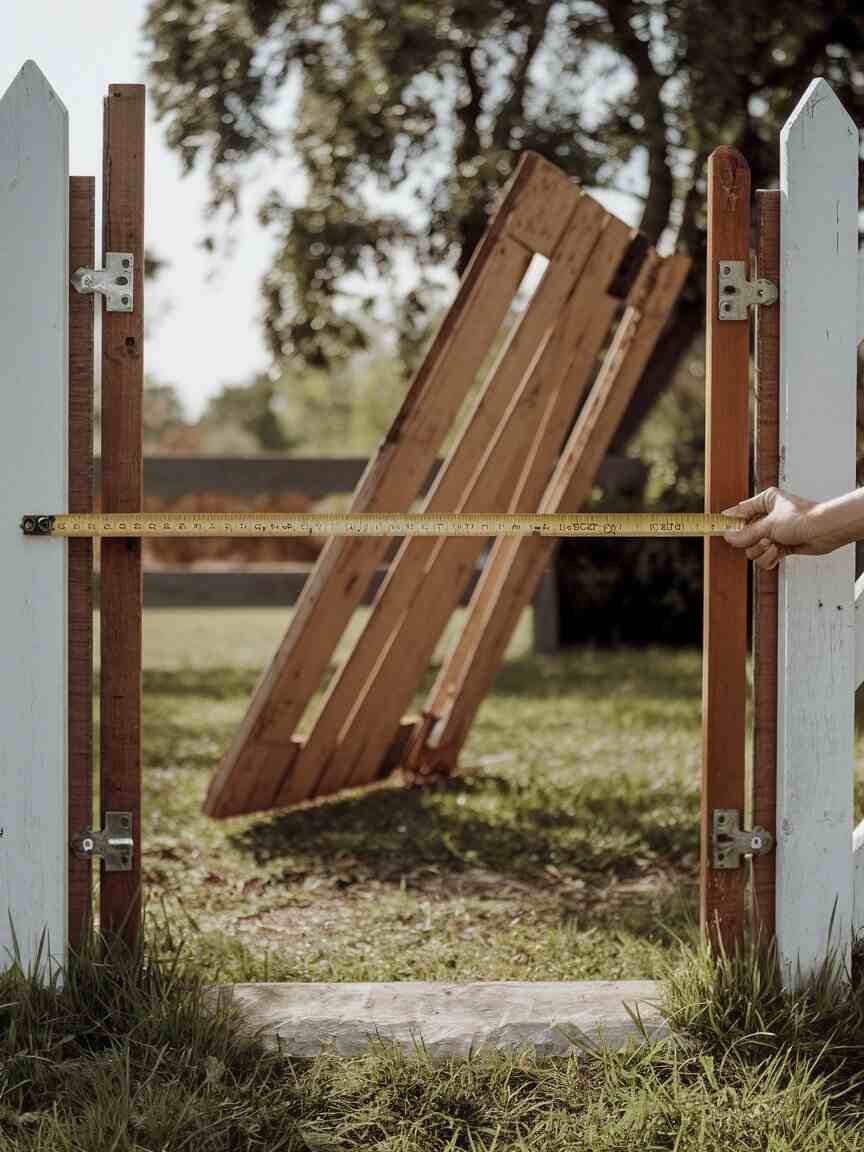
Step 1: Measure the Opening
Before you begin, measure the width and height of the opening where you’ll be installing the gate. This is crucial because the gate needs to be slightly smaller than the actual opening to allow for proper movement and fitting of hinges. Typically, you should leave around ½ to 1 inch gap on each side.
Pro Tip: Ensure that your fence posts are level and sturdy enough to hold the weight of the gate. If necessary, you can reinforce them with additional gravel or cement to prevent sagging over time.
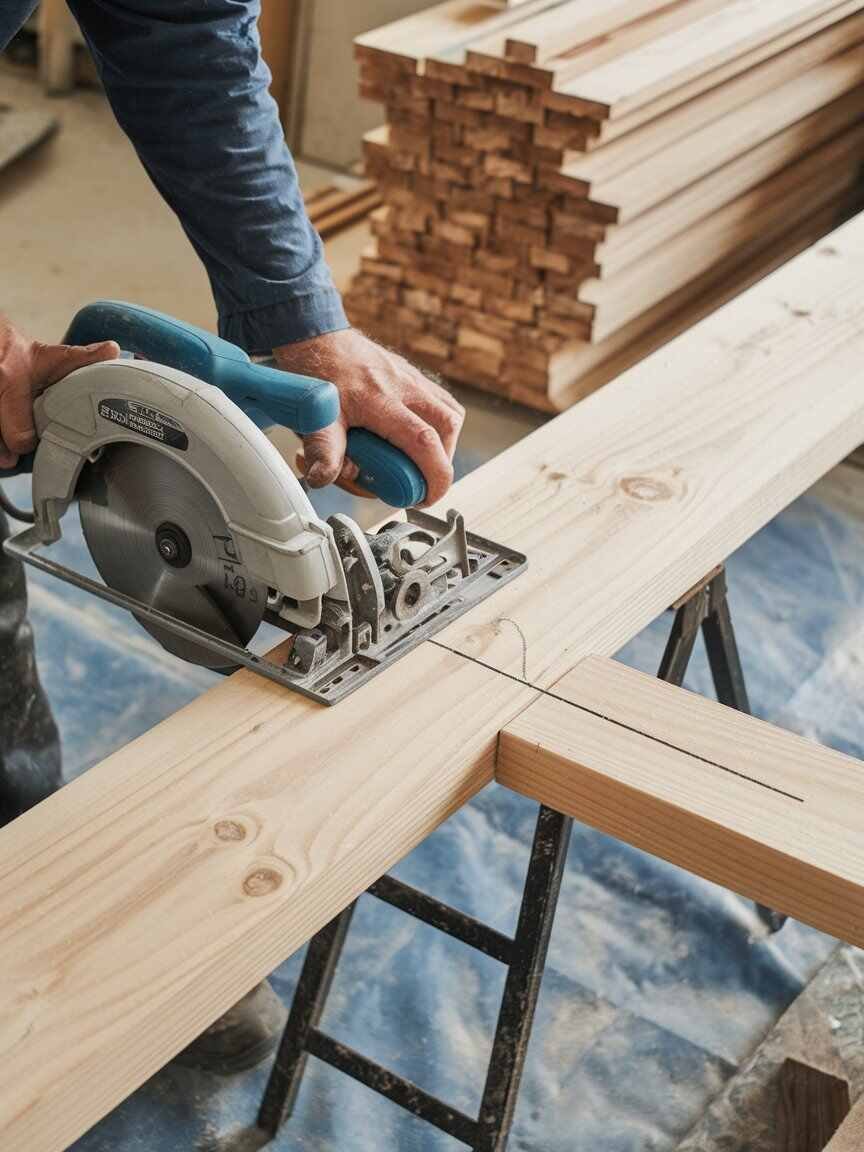
Step 2: Cut the Wooden Frame
Next, take your 2×4 boards and cut them to size according to your measurements. You’ll need two vertical pieces for the sides and two horizontal pieces for the top and bottom of the frame. Use a circular saw for accurate cuts. Double-check the angles with a carpenter’s square to ensure everything fits together perfectly.
Pro Tip: It’s essential to pre-drill holes before inserting screws to prevent splitting the wood.
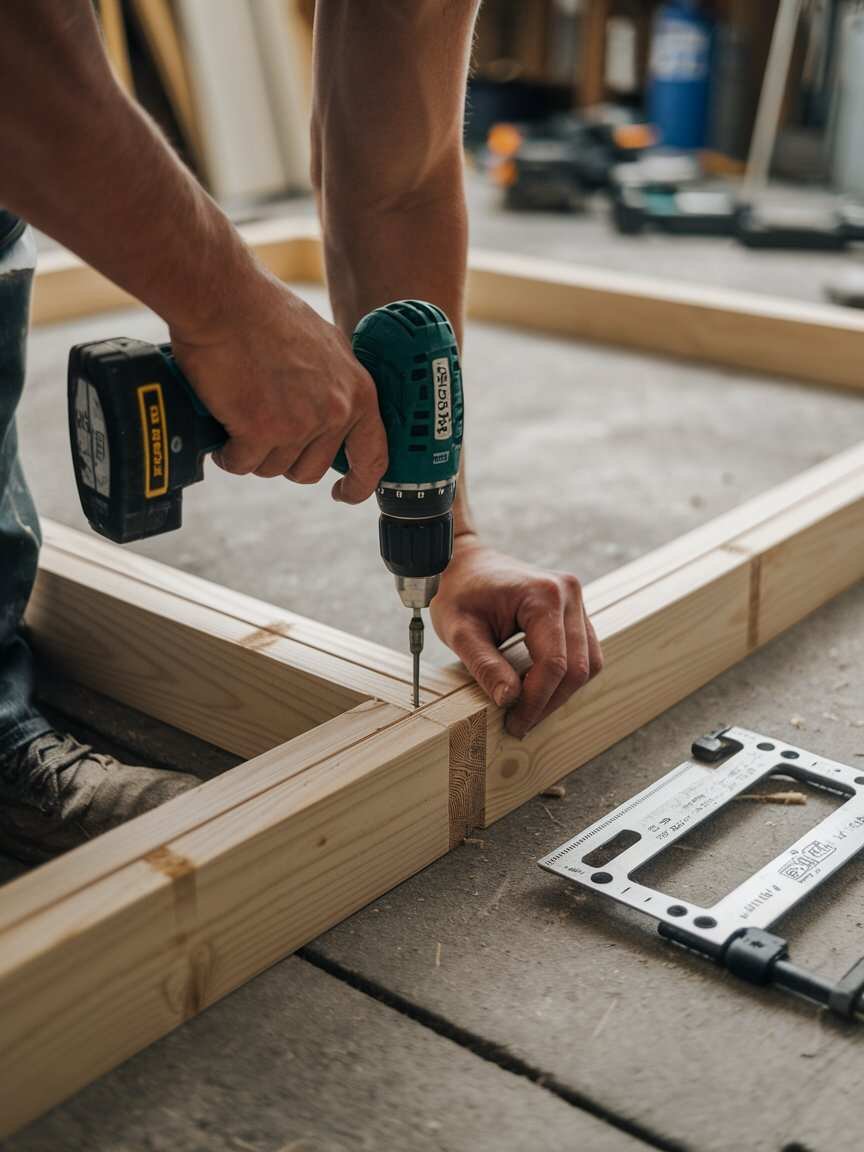
Step 3: Assemble the Frame
Lay the cut pieces on a flat surface and assemble the rectangular frame. Use screws to fasten the corners together securely. Make sure the frame is perfectly square using your carpenter’s square. If it’s slightly off, adjust it now to avoid alignment issues later.
Pro Tip: Apply wood glue at the joints before screwing the pieces together for added strength.
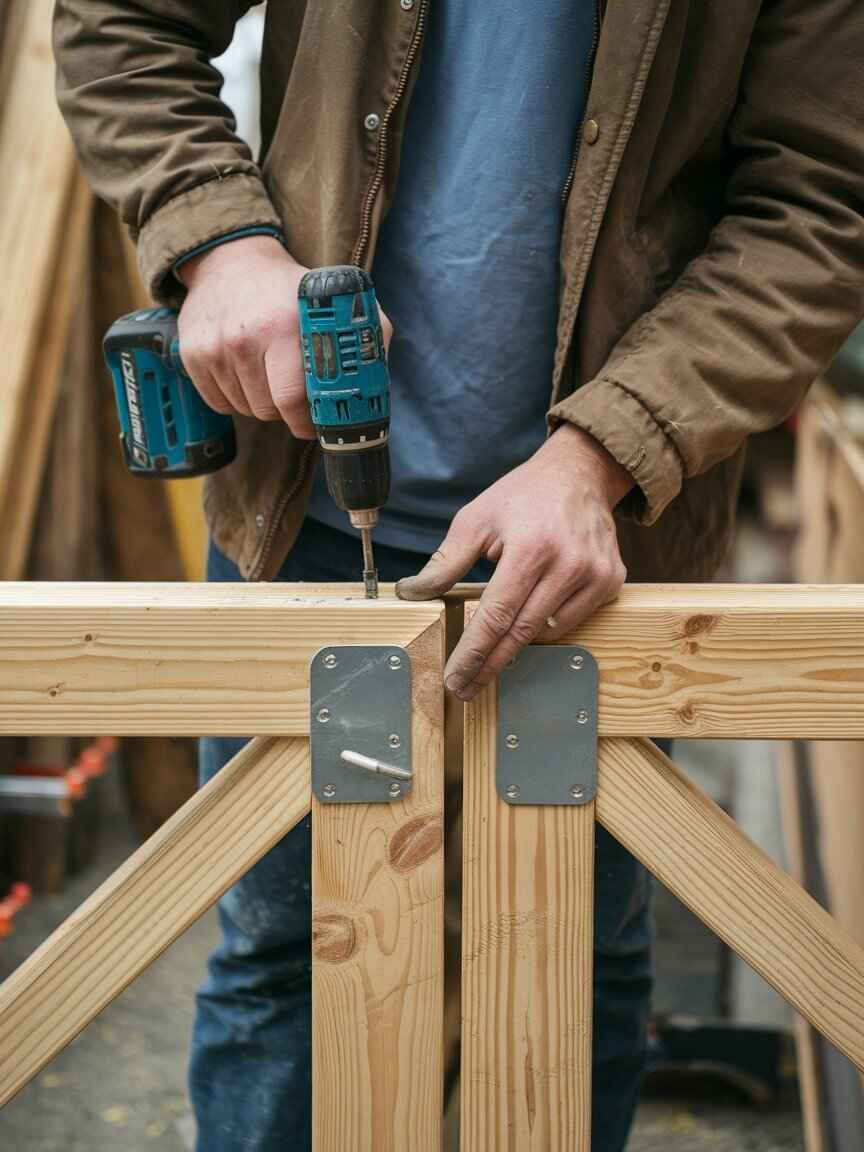
Step 4: Attach Diagonal Braces
To prevent sagging over time, add a diagonal brace across the frame. This brace should run from one corner at the bottom of the frame to the opposite corner at the top. Cut a 2×4 board to fit and secure it in place with screws.
Pro Tip: Position the brace so that it transfers the weight of the gate to the hinge side for better durability.
Step 5: Add Wooden Panels
Now it’s time to add the vertical wooden boards to the frame to create the gate’s main body. Attach the boards by screwing them into the frame, ensuring they’re evenly spaced. You can leave small gaps between the boards for ventilation, or fit them tightly for more privacy.
Pro Tip: Sand down any rough edges before attaching the boards to give the gate a professional finish.

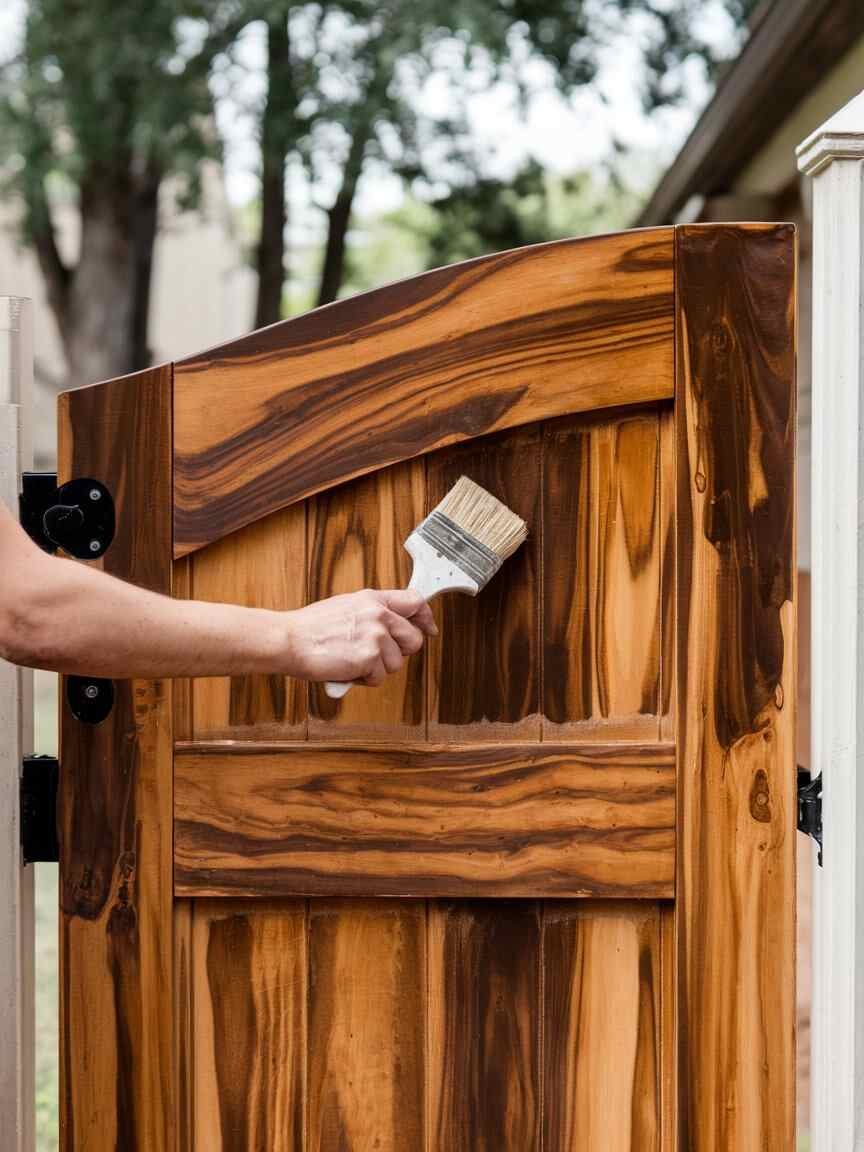
Step 6: Sand and Finish the Gate
After attaching the panels, use sandpaper or a wood planer to smooth down the surface. Once the gate is smooth, you can stain or seal the wood to protect it from the elements. This step is particularly important if you’re using a type of wood that’s prone to weather damage, like pine. Cedar and redwood are naturally more resistant to moisture but still benefit from a protective finish.
Pro Tip: Choose a weather-resistant sealant that complements the natural grain of the wood for a polished look.
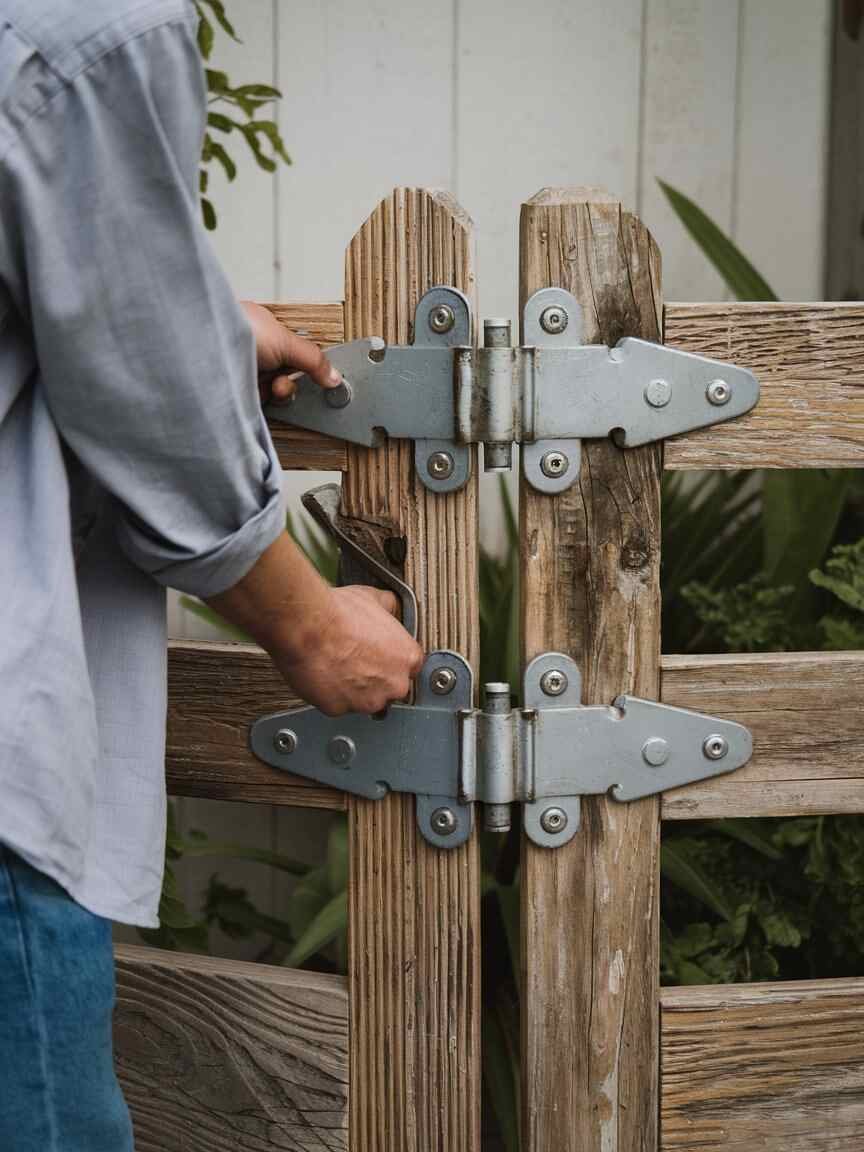
Step 7: Install Hinges and Latch
Once your gate is assembled and finished, it’s time to hang it. Start by attaching heavy-duty hinges to the gate’s frame. Position the hinges on the strong, reinforced post, then attach the other side to the gate itself. Ensure the gate swings freely and doesn’t drag on the ground. Finally, install the latch on the opposite side to secure the gate when closed.
Pro Tip: Test the gate by swinging it a few times before tightening all screws fully to ensure smooth movement.
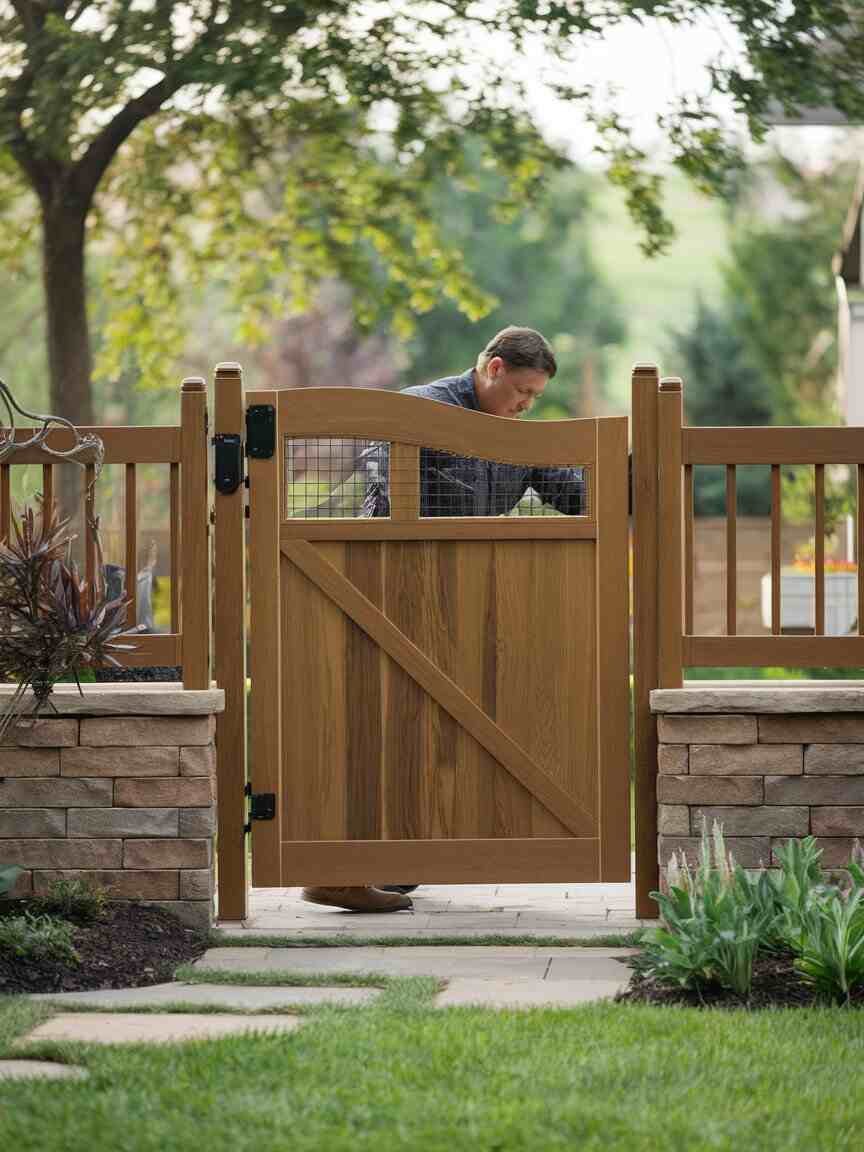
Step 8: Test and Adjust
With everything in place, swing the gate open and closed a few times to ensure it’s working smoothly. If the gate sags or scrapes the ground, you may need to adjust the hinges or add a wheel to the bottom of the gate for extra support.
Pro Tip: If you live in an area with heavy snowfall or rain, regularly check the gate for signs of wear and tear.
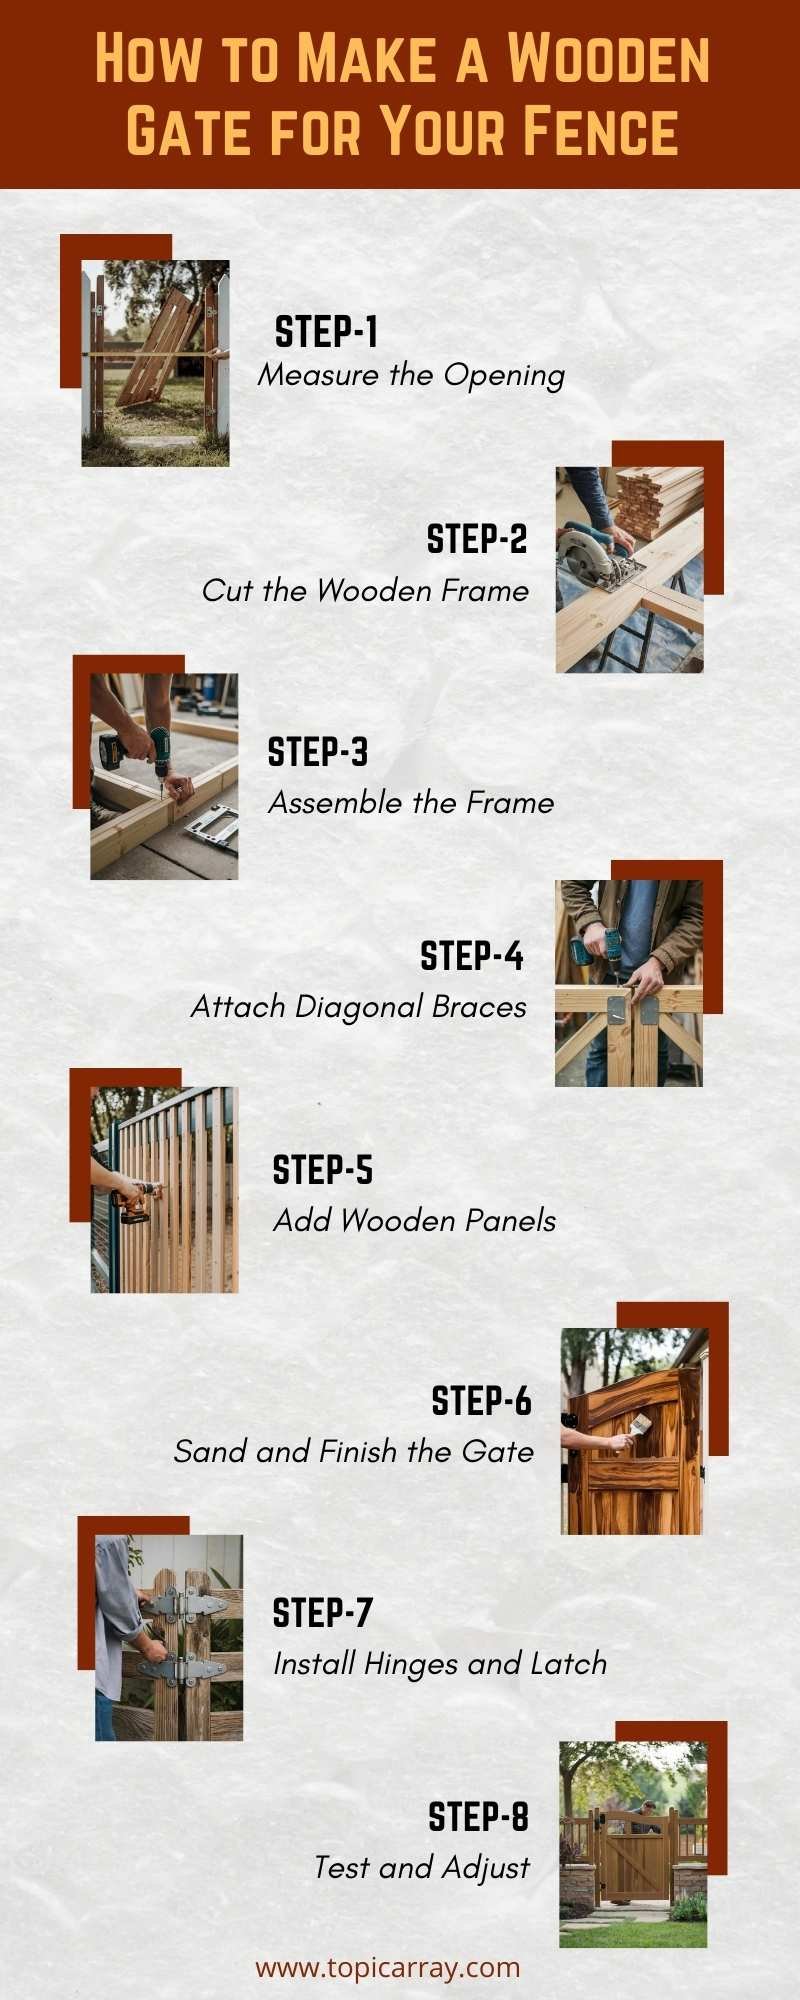
Wood Fence Gates Infographic
Conclusion
Building your own wooden gate for your fence is not only a practical DIY project but also a rewarding one. By following these steps, you’ll have a custom gate that adds both charm and functionality to your home’s exterior. With the right tools and materials, you can craft a gate that stands the test of time, enhancing both privacy and curb appeal.
Now that you’ve finished your project, all that’s left is to enjoy the satisfying click of your new gate as it opens and closes seamlessly!


