


French cleats are a game-changer for organizing your workshop, hanging heavy items like cabinets, mirrors, or tools, and ensuring everything stays secure and level. With their simple design and incredible strength, French cleats are easy to make and install, even for beginners. In this guide, we’ll walk you through the entire process, from understanding how they work to cutting, assembling, and installing them. Let’s get started!
What Is a French Cleat?
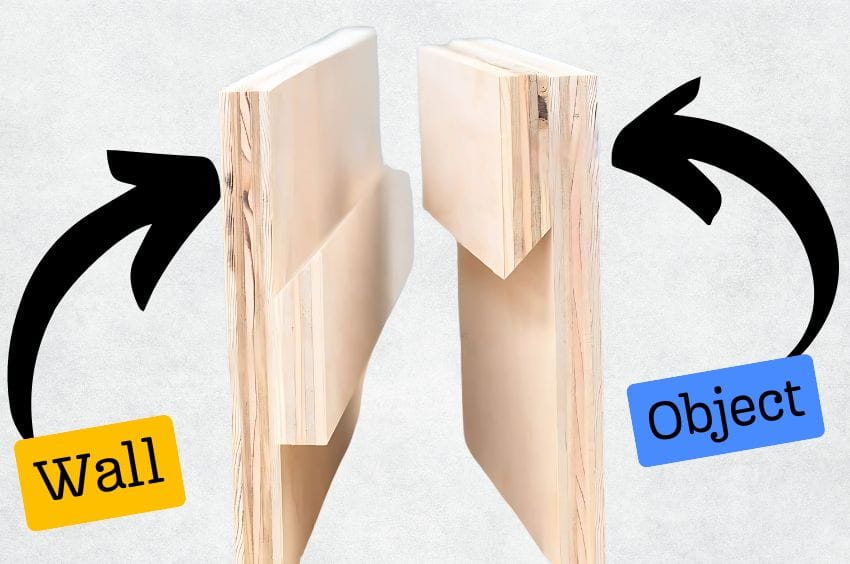
A French cleat is a two-piece bracket system used to hang items securely on a wall. One piece is attached to the wall, while the other is attached to the object you want to hang. Each piece has a beveled edge, typically cut at a 45° angle. When the two pieces are brought together, the beveled edges interlock, creating a strong and reliable support system.
French cleats distribute the weight of heavy items evenly along the cleat, making them perfect for both large installations and single-use applications. Common uses include:
- Tool storage on workshop walls.
- Hanging cabinets, mirrors, or artwork.
- Organizing shelves and one-off hanging projects.
Materials You’ll Need
Here’s a list of materials and tools you’ll need to make a French cleat:
Materials:
- Plywood (3/4-inch thick for durability) or solid wood.
- Screws and wall anchors (if attaching to drywall).
- Spacers (optional, for certain installations).
Tools:
- Table saw or circular saw.
- Measuring tape.
- Speed square (for accurate angle marking).
- Level.
- Digital angle gauge (optional but helpful).
- Drill and screwdriver.
Step-by-Step Guide: How to Make a French Cleat
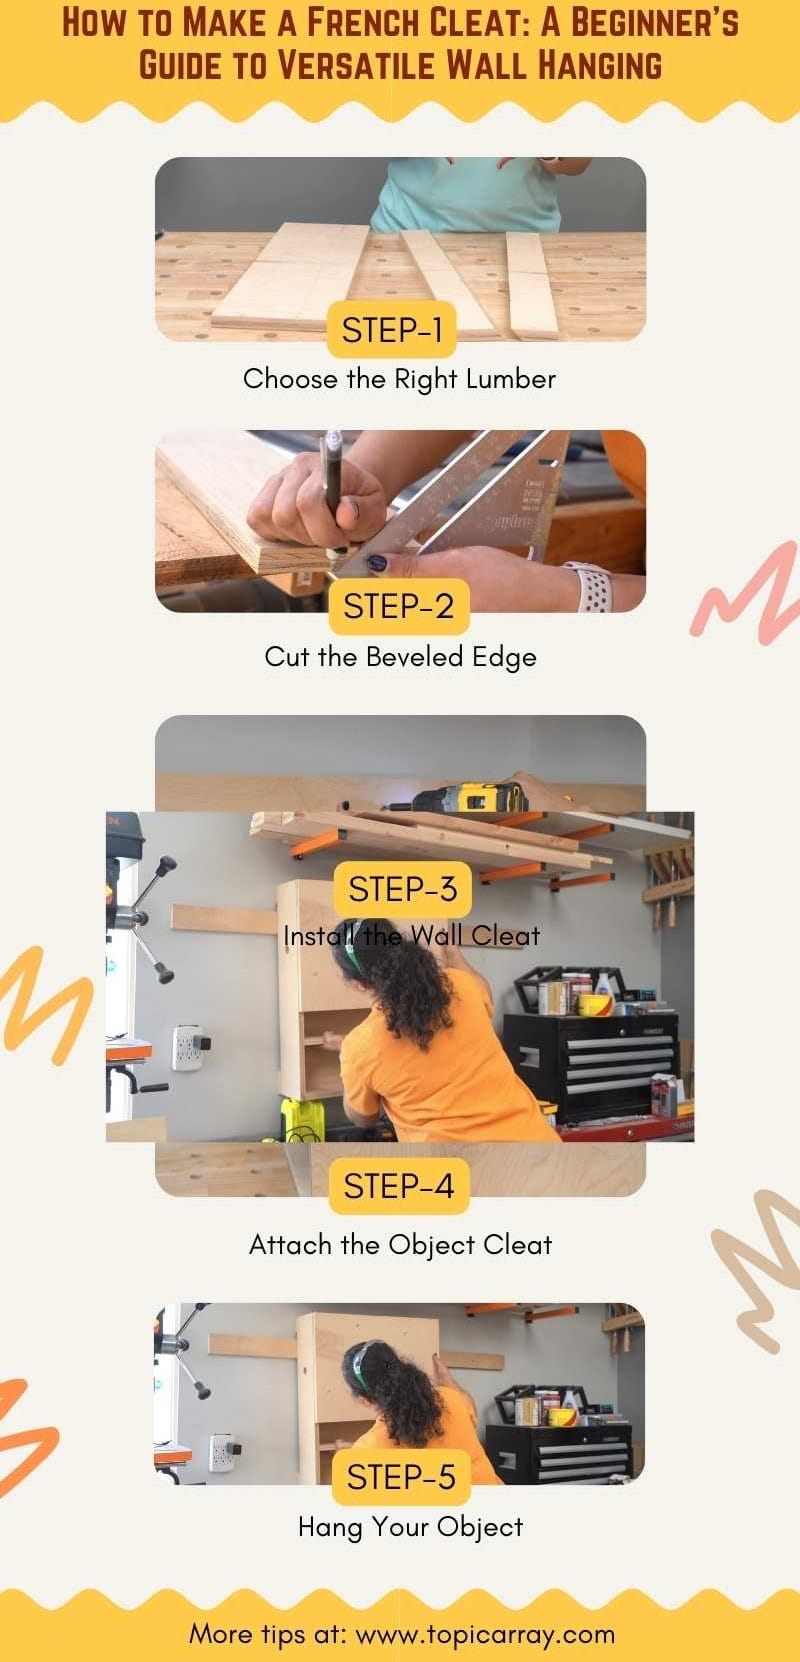
Step 1: Choose the Right Lumber
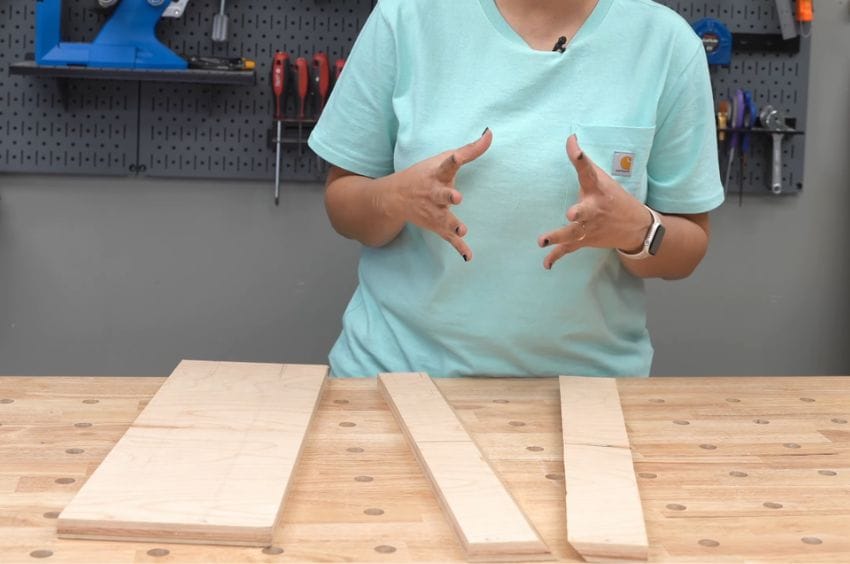
French cleats can be made from various materials, such as 3/4-inch plywood, 1×6 boards, or 2×6 construction lumber. Plywood is often preferred because of its strength and durability. Ensure the board is wide enough (at least 4–6 inches) to leave room for screws after cutting the bevel.
Step 2: Cut the Beveled Edge
- Using a Table Saw:
- Set the table saw blade to a 45° angle using a digital angle gauge or a speed square.
- Cut a board to your desired width (e.g., 5 inches).
- Run the board through the saw, splitting it into two pieces with complimentary beveled edges.
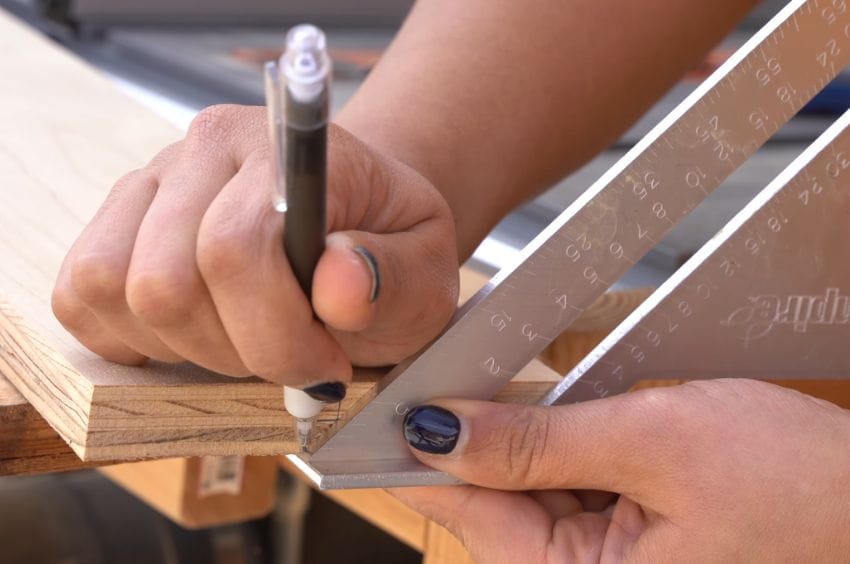
- Using a Circular Saw:
- Raise the board off the surface using 2x4s or foam insulation to avoid cutting your workbench.
- Mark a 45° line along the center of the board using a speed square.
- Use a straight-edge guide (e.g., Kreg Straight Edge) to guide your circular saw for accurate cuts.
- Cut the beveled edge first, then make a straight cut to separate the two cleat pieces.
Pro Tip: If you’re using a jigsaw, ensure the blade is sharp and supported to avoid uneven cuts. However, jigsaws are not ideal for long, straight cuts.
Step 3: Install the Wall Cleat
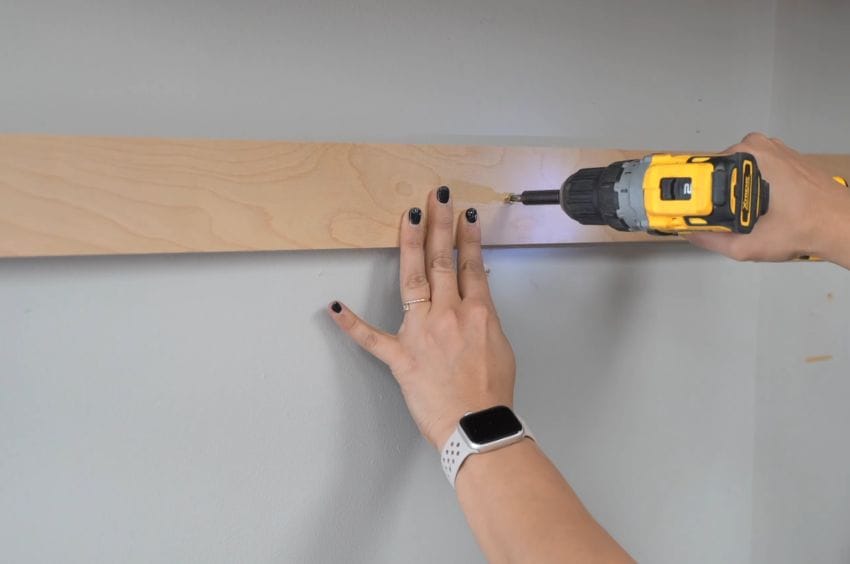
- Locate the wall studs using a stud finder.
- Mark a level line across the studs where the cleat will be mounted.
- Screw the wall cleat into the studs, ensuring the bevel faces upwards and away from the wall.
- For drywall installations, use heavy-duty wall anchors.
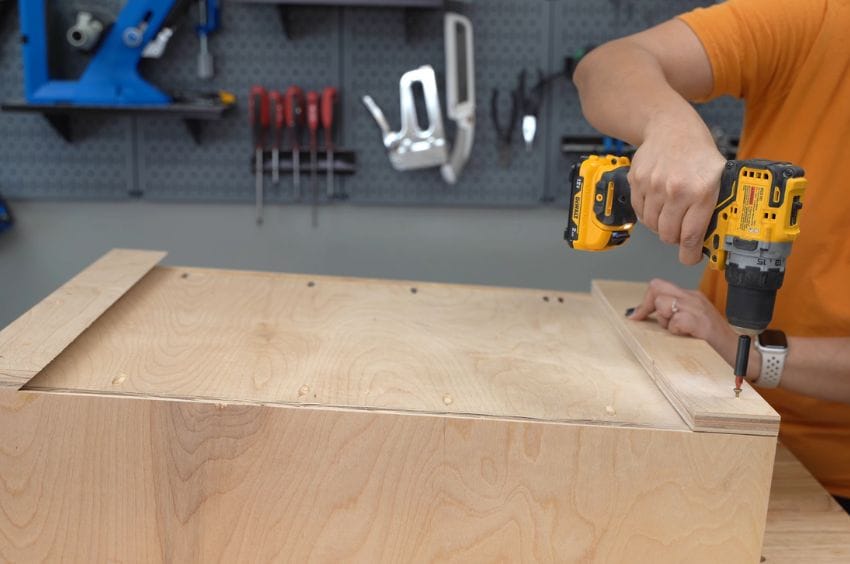
Step 4: Attach the Object Cleat
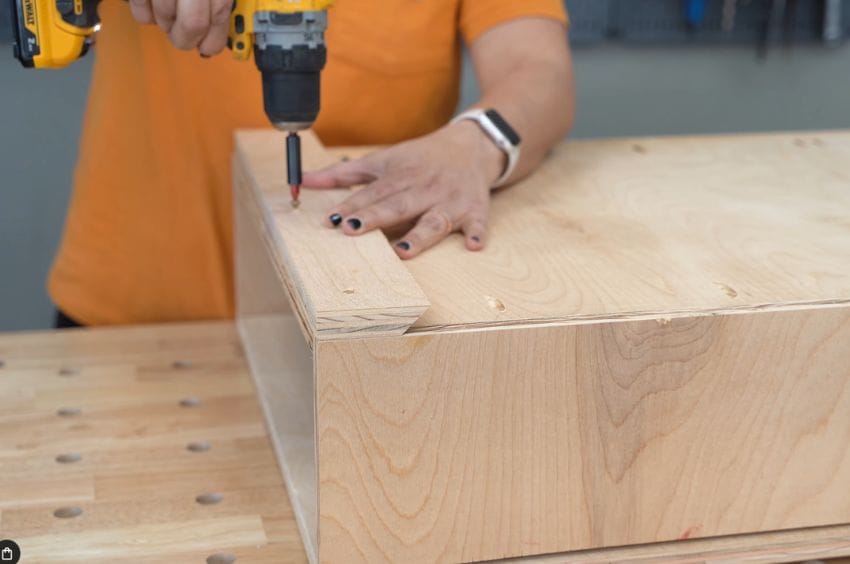
- Align the second piece of the French cleat to the back of your object, such as a cabinet or tool rack.
- Attach the cleat with screws, ensuring the bevel faces downwards and toward the object.
Optional: Add spacers to the bottom of the object to ensure it sits flush against the wall when hung.
Step 5: Hang Your Object
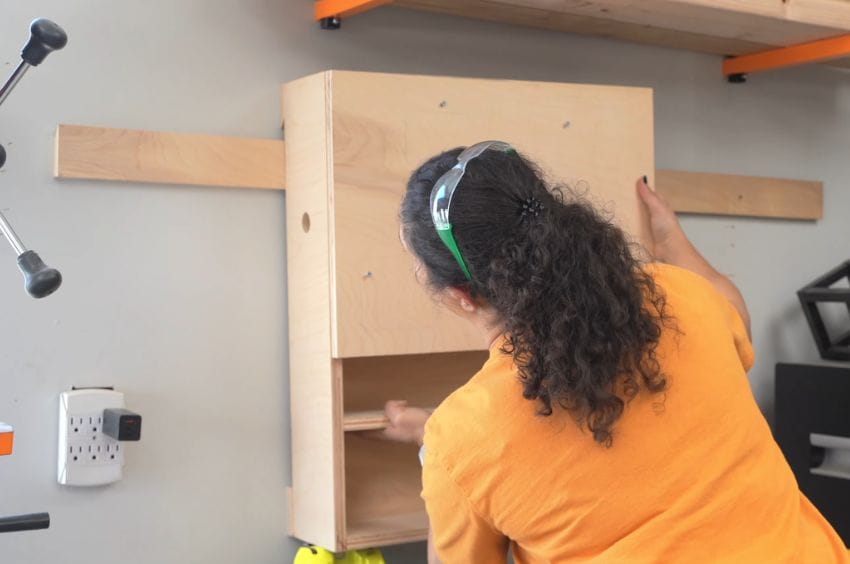
Once both cleat pieces are installed, lift the object and hook the beveled edges together. The interlocking design ensures a secure and level hold. For added stability, ensure the cleat extends across at least two wall studs.
Infographic of How to Make a French Cleat
Why Choose a French Cleat?
French cleats are incredibly versatile and durable. Some advantages include:
- Customizable Storage: Easily rearrange items on your wall by moving cleats.
- Reusable Design: The cleats can be reused for different objects.
- Heavy-Duty Support: The design distributes weight evenly, allowing you to hang heavy items with confidence.
- Simple Installation: Even a DIY novice can create and install French cleats with minimal tools.
Final Thoughts
Building a French cleat is a straightforward DIY project that combines practicality with simplicity. With just a few tools and materials, you can create a highly effective wall-hanging system for your workshop, home, or garage. Whether you’re organizing tools or installing heavy cabinets, French cleats offer unmatched versatility. Follow this guide, and you’ll have a strong, reliable system that’s easy to install and adjust.
Happy DIYing!


